Recipe No: 249
 Ingredients Makes 12
To make the Puffs

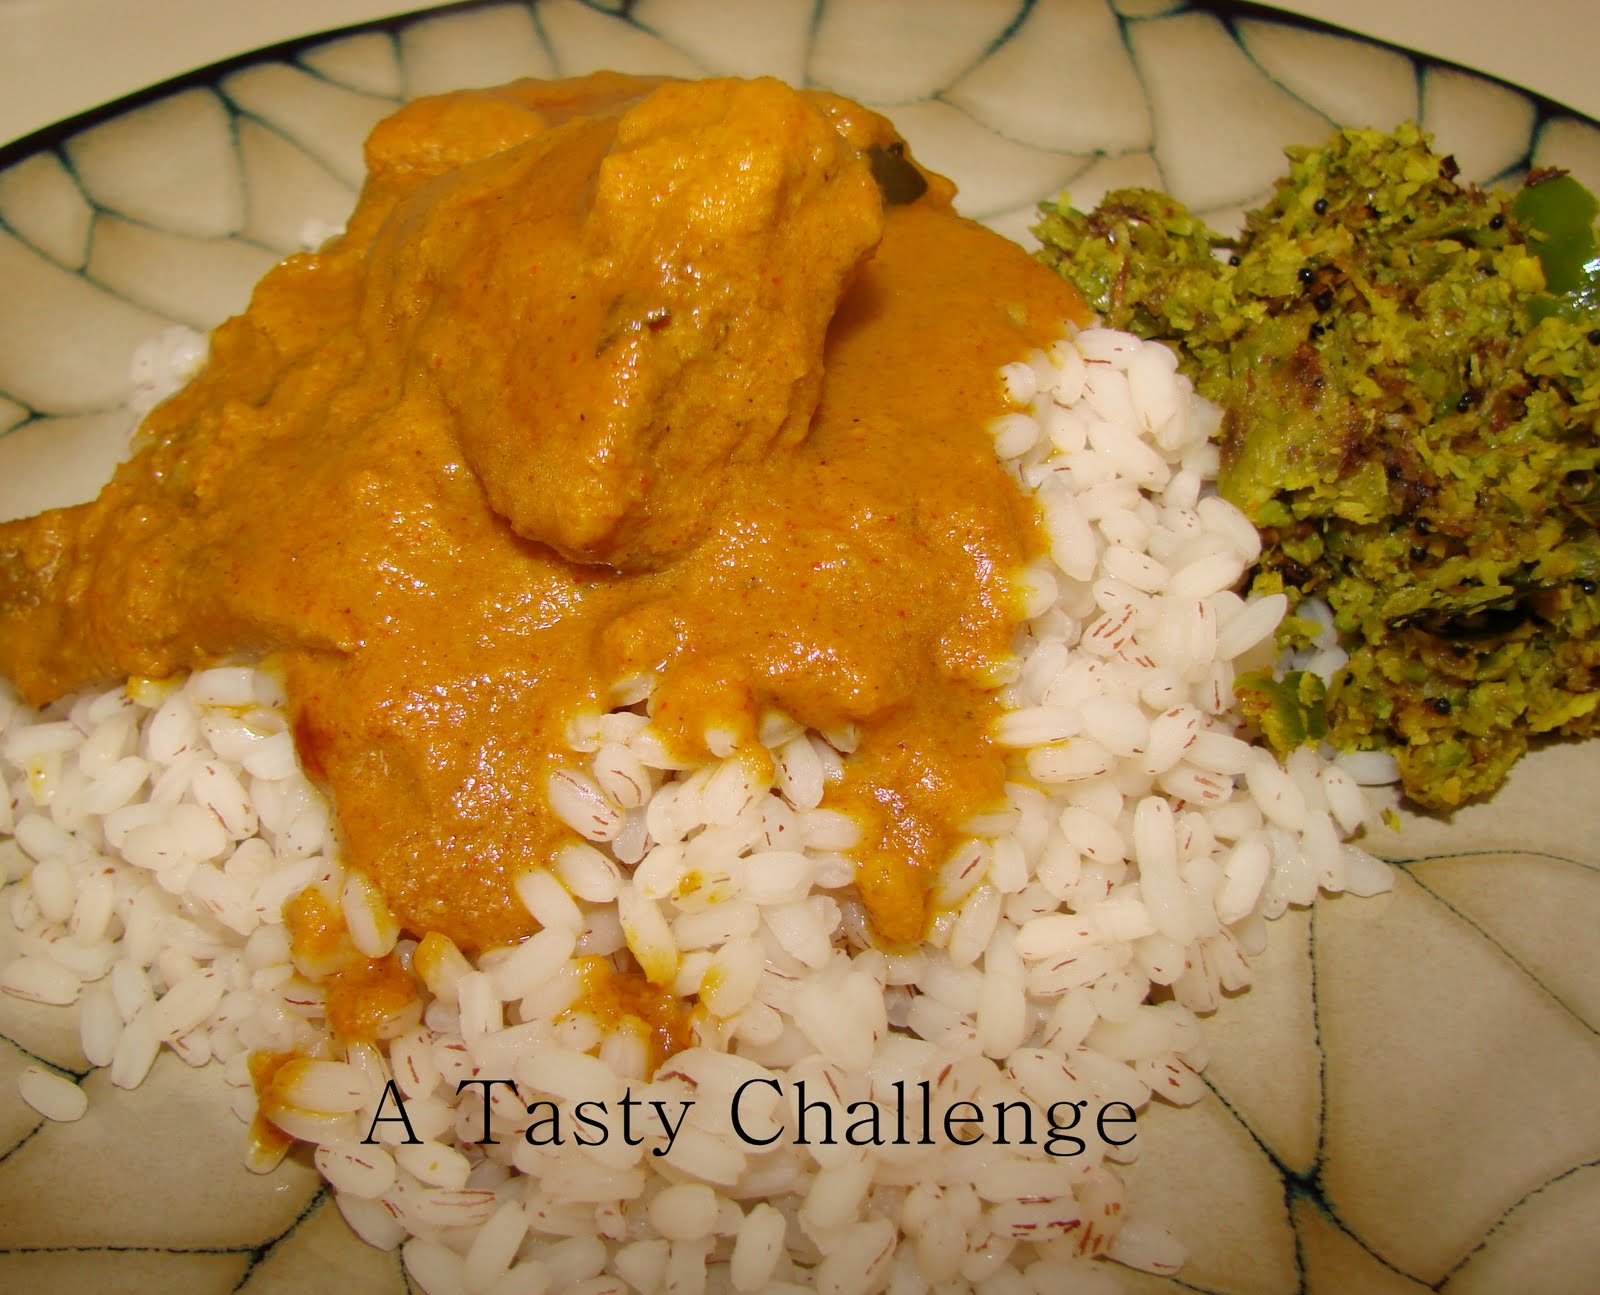
Make it, enjoy the deliciousness and
serve it to your family with love…
Visit to a Brazilian restaurant is something that I will never forget… with 13 different types of meat all grilled…all savory… and all with distinct flavors, carved in front of you... just for you...as much as you want... But before having this ‘Meat extravaganza’, one can eat anything from the salad bar which is bigger than the biggest buffet that I had ever seen and among them was this special Cheese Puffs. When most of the Cheese Puffs have Cheese in the batter, this one was special in the fact that the Cheese was inside the Puffs as a filling. We all enjoyed that delicious Cheese Puffs which encouraged me to recreate.

To make the Puffs
- Milk……………………..............1/4 Cup
- Salt………………………............1/8 Teaspoon (reduce the amount if using salted butter)
- Pepper Powder……..............1/8 Teaspoon
- Unsalted Butter………..........2 Tablespoons
- All Purpose Flour/ Maida….1/4 Cup
- Egg…………………………......….1
- Cream……………………….........1/4 Cup
- Grated Cheese………………......1/3 Cup (Use Cheese that melts like Mozzarella, Cheddar etc: I used Cheddar)
- Preheat the oven to 400˚F/ 204˚C.
- Heat together Milk, Salt, Pepper Powder and Butter together in a sauce pan on medium low heat until the Butter is melted.
- Once melted, crank up the heat and let the mixture boil.
- Once boiled, add the Flour all at once and mix really well as fast as possible. Continue this until the Flour comes together as one mass.
- Transfer this to a food processor and pulse it together with an Egg until really smooth. (If you don’t have a food processor use an egg beater, or you can do this with a hand whisk, but it is a bit tedious.)
- Transfer the mixture to a small Zip Lock bag.
- Cut one corner of the Zip Lock bag and pipe the mixture (in circular motion) as a mount onto an oiled baking tray. Press the tip slightly with a wet finger to make it flat. (or the tip will burn in the oven.)
- Bake it in the middle of the oven for 15-20 minutes (Don’t peak during this time.) or until it is all puffed up and golden brown on top.
- Switch off the oven and let the puffs sit in the oven for 3 minutes. These puffs will be hollow inside.
- Once out, fill it with the Cheese mixture.

- Heat Cream and Cheese until the Cheese is melted thoroughly. Add Salt and Pepper if you prefer. Transfer this to a sauce bottle.
- With the tip of the sauce bottle make a small incision on one side of the Puffs and squeeze the bottle to fill the inner hollow part with some of the sauce.
- Repeat this process with the rest of the Puffs and serve it warm with a cup of Tea.

- Once the Flour is added to the Milk mixture, do mix it immediately to combine without lumps.
- It is very important to maintain the temperature while the Puffs are baking. So don’t peak at all. Sudden changes in the temperature will lead the Puffs to fall. If you want to see the Puffs, do switch on the light and take a peek through the glass door (if possible) or wait for at least 17 minutes to open the door (slightly) to peak. Letting the puffs sit in the hot oven itself, after baking, for sometime will avoid the Puffs from falling.
- While making Cheese sauce, you can substitute Cream with Milk and a pinch of Corn Starch/Corn Flour.
- You can make the Puffs in advance, but do fill it just before serving. But don’t forget to reheat the Puffs by keeping in the hot oven for a few minutes before filling and serving.

Make it, enjoy the deliciousness and
serve it to your family with love…